Creating New Shipment with CVS Template using Priority Shipping Mode
This topic lets you create a new shipment using the CVS template for the Priority Shipping mode. ShipExec automatically ranks the ideal service that will deliver your package based on your delivery date and time. You will not have any services available to choose from.
Note: The shipping mode is configured by your company or site administrator.
- On the Shipping tab, click Shipping and Rating.

- In the Load box, enter your Load Request String.
- Click Load.
- If applicable, select Add from the Select Action drop-down list, then select the applicable address book from the Select Address Book drop-down list.
- Complete the address boxes.
- Optionally, enter the consignee's email, phone and fax information in the appropriate boxes.
- In the right panel, click the General tab, then click the Deliver Date
 icon and select the delivery date you want.
 - From the Deliver Time drop-down list, select the delivery time you want.
- Select the shipper's name from the Shipper drop-down list.
- Select the payment terms from the Payment Terms drop-down list.
- If applicable, select the appropriate billing type (Third Party Billing or Consignee Third Party) check box.
- Select the packaging type from the Packaging Type drop-down list.
- In the Weight box, enter the package weight and select the weight unit from the drop-down list.
- In the Description box, type the package description.
- If applicable, select the box type from the BoxType drop-down list.
- Enter the package dimensions in the Dimension boxes.
- If applicable, enter the package value in the Declared Value box and select the currency.
- Select the Delivery Confirmation option you want.
- Select the Return Delivery option you want.
- If applicable, click the Int'l tab and complete the required boxes.
Note: When selecting Documents Only from the Int’l tab, commodity level information is not required.
- If applicable, click the Visibility tab, select the appropriate notification button, and then select the appropriate check box(es).
- If applicable, click the Reference tab and complete the required boxes.
- Click Continue. ShipExec displays the ranked rates and services based on your priority delivery date.
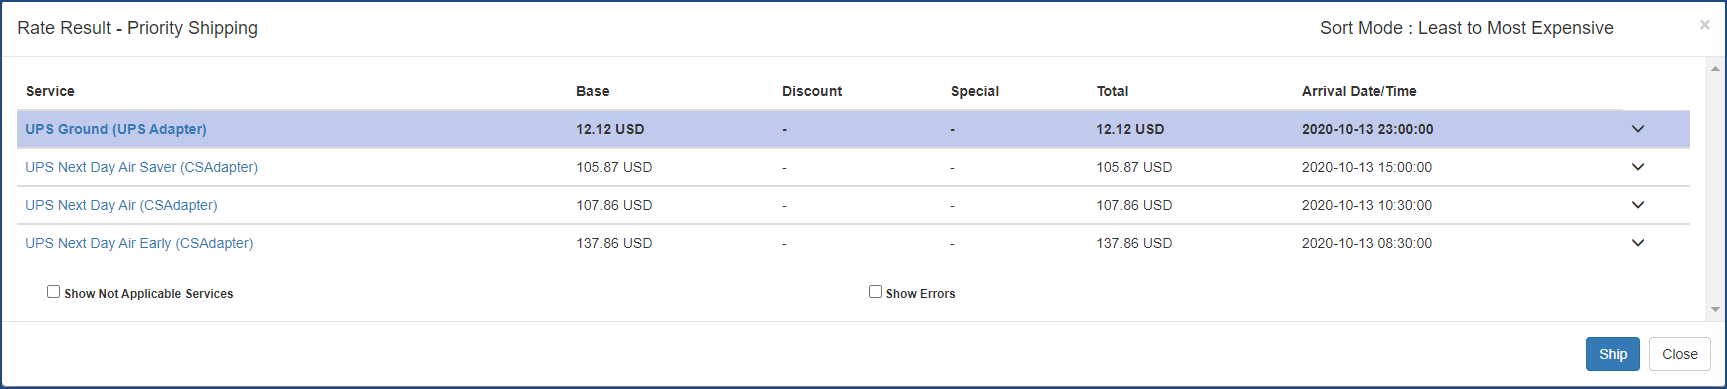
- Click the service you want to use. (Note: If you select a service other than the top-ranked service, you must enter a reason in the Reason for Upgrade box that appears at the bottom of the screen.
- Optionally, click the Show Errors check box to view additional information.
- Click Ship.
- Do one of the following:
- Click Print Document to print your label, then click Next to print the next document.
- Click Print All Documents to print all documents for the entire shipment.
- Click Print All Package Documents to print all the different documents associated with the current package.
Related Topics
Creating New Shipment with CVS Template using Rate Quote Mode
Creating New Shipment with CVS Template using Ship by Date Mode
Creating New Shipment with CVS Template using Ship by Service Mode